

This article was written by Zoe Lim
Why did I teach my dog to do her own nails?
I’m sure many pet owners understand the importance of keeping their pet’s nails at an appropriate length, but struggle when it comes to trimming their pet’s nails (myself included). We’ve tried trimming my dog, Tovsha’s nails using clippers but she struggles so much that it makes it difficult. We were able to grind her nails using a grinder with a lot of bribing with peanut butter, but it’s still a stressful time for both her and us. Going to the groomer or the vet was also not an option because Tovsha gets anxious in both places. So, I finally decided to teach her to file her own nails.
How does she file her nails?
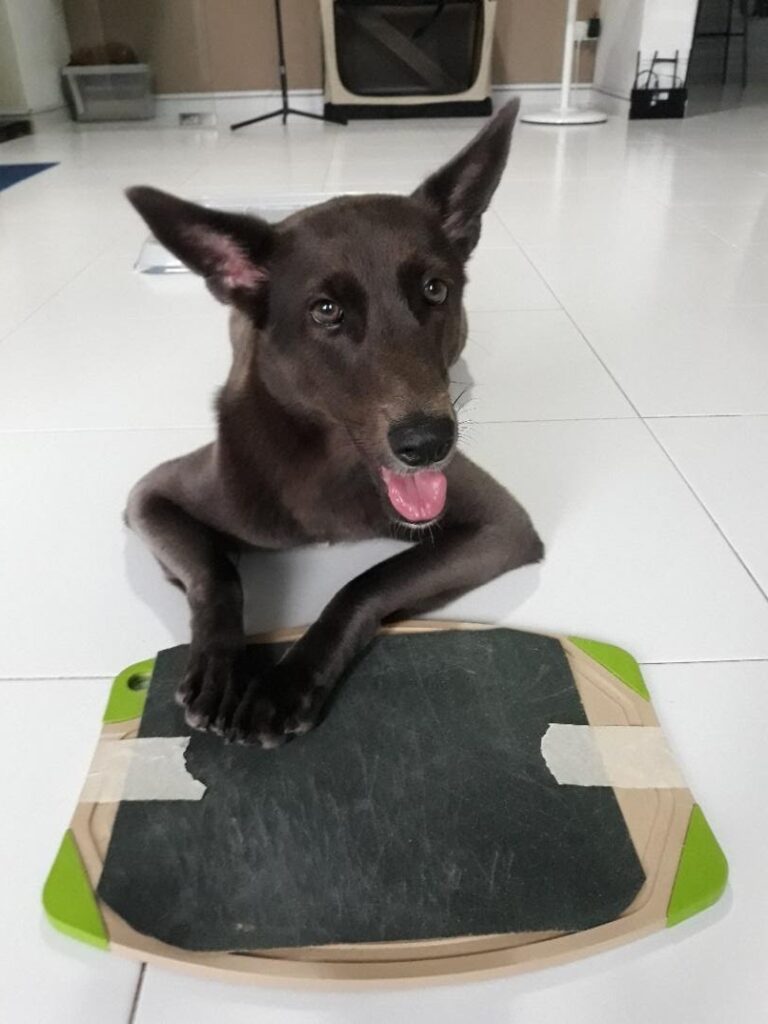
Now, you might be thinking, “How can she file her own nails?” Enter the scratchboard! I read that sandpaper can be used to file a dog’s nails, so I decided to make Tovsha a scratchboard. But how does the scratchboard work? Basically, the scratchboard acts as a large nail file. When Tovsha scratches on the board, her nails get filed down by the sandpaper.
How to make a scratchboard?
The scratchboard was really easy to make. I used:
- 1 piece of sandpaper (80 grit)
- An old chopping board
- Masking tape
Just tape down the two sides of the sandpaper onto the chopping board and the scratchboard is all ready.
How did I teach my dog to use the scratchboard?
Now that the scratchboard is ready, the next step would be teaching your dog how to use it. I’ll be sharing a few methods I used to teach my dog to use her scratchboard.
Method 1 – Teach the command ‘scratch’
Tovsha has a mat that she loves to scratch at, so I encouraged her to scratch on it by placing treats under it. When she started to scratch, I praised her and said ‘scratch’. Once she got the idea, I presented the scratchboard and got her to ‘scratch’. She offered one or two scratches but was not that motivated to continue. While this method didn’t really work for Tovsha, this method might work for you if your dog is innately motivated to scratch.
Method 2 – Using a spoon
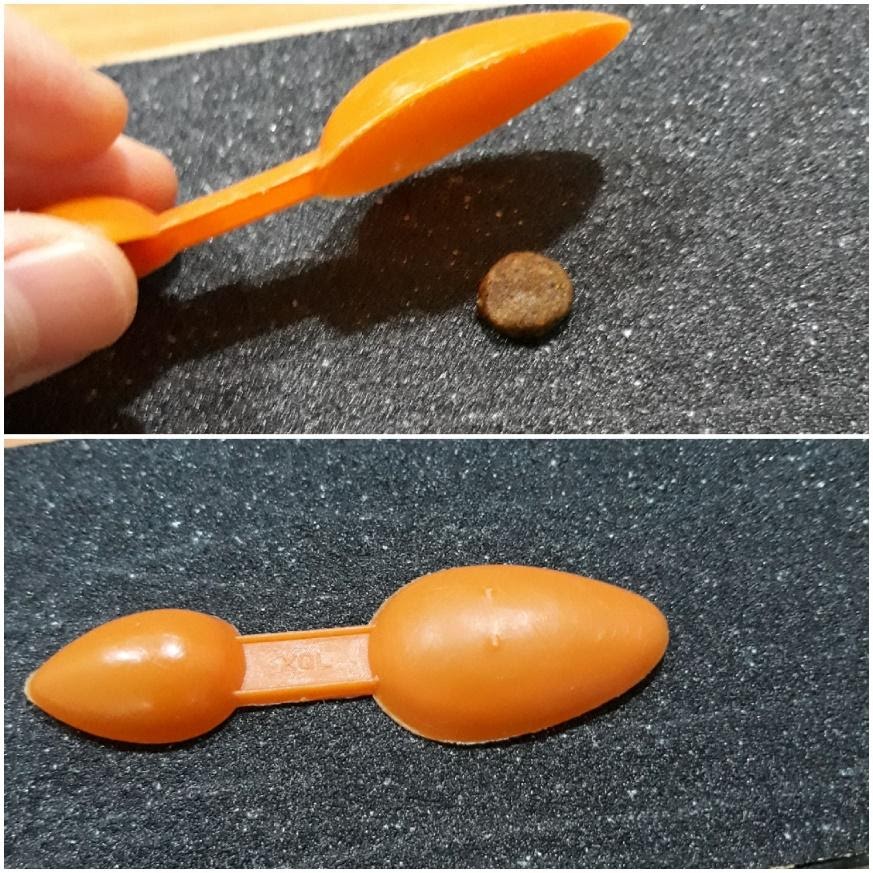
Tovsha is not a scratch-motivated dog but she is a super food-motivated dog. So, I decided to incorporate food to increase her motivation to scratch. I placed a treat on the scratchboard and covered it using a small spoon. In trying to get to the treat, she would naturally begin to scratch at the scratchboard. This method was good at helping her get used to the feeling of the scratchboard. However, I noticed that sometimes she would scratch only at the spoon, and not directly on the scratchboard. Furthermore, as I had to hold onto the spoon, she would inevitably scratch my fingers and they were starting to hurt from her intense scratching!
Method 3 – Hiding food
The third method I used was hiding the food completely under the scratchboard. Because I only taped two sides of the sandpaper down, I could lift the other two sides to hide food between the chopping board and the sandpaper.
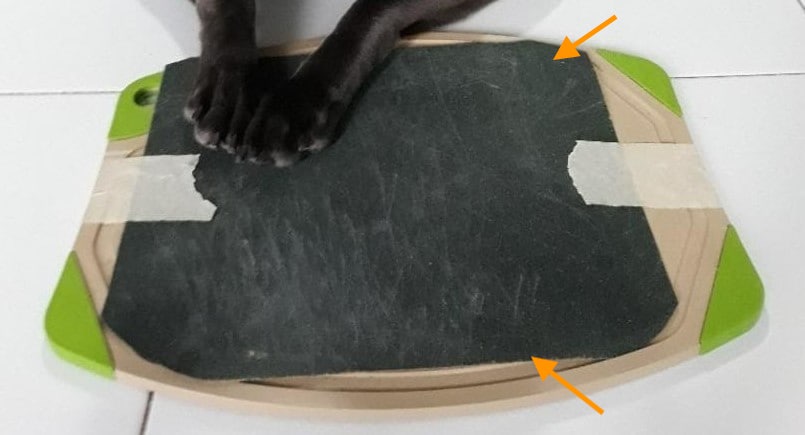
I would lift two sides (indicated with the orange arrow) and hide the food under the sandpaper. This method worked very well for us. Instead of just offering one or two scratches, Tovsha would scratch vigorously at the board, making it more effective in filing down her nails. After a few seconds, I would lift one side of the sandpaper to reveal the hidden treat.
Does a scratchboard really work?
Well, you might be wondering if this method really works and the answer is… Yes! Below are some photographs of Tovsha’s nails before and after using the scratchboard. Of course, they are not super short but you can see some differences after just two sessions of scratchboarding.
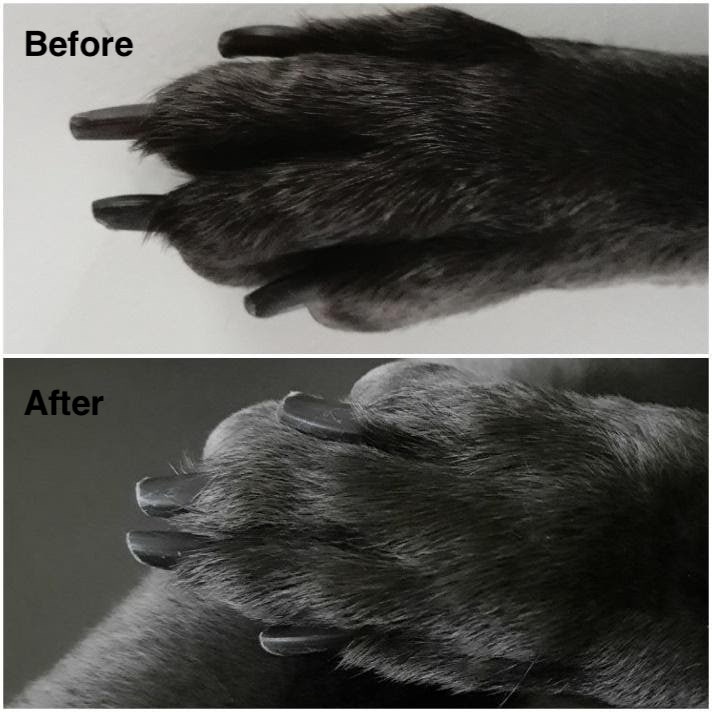
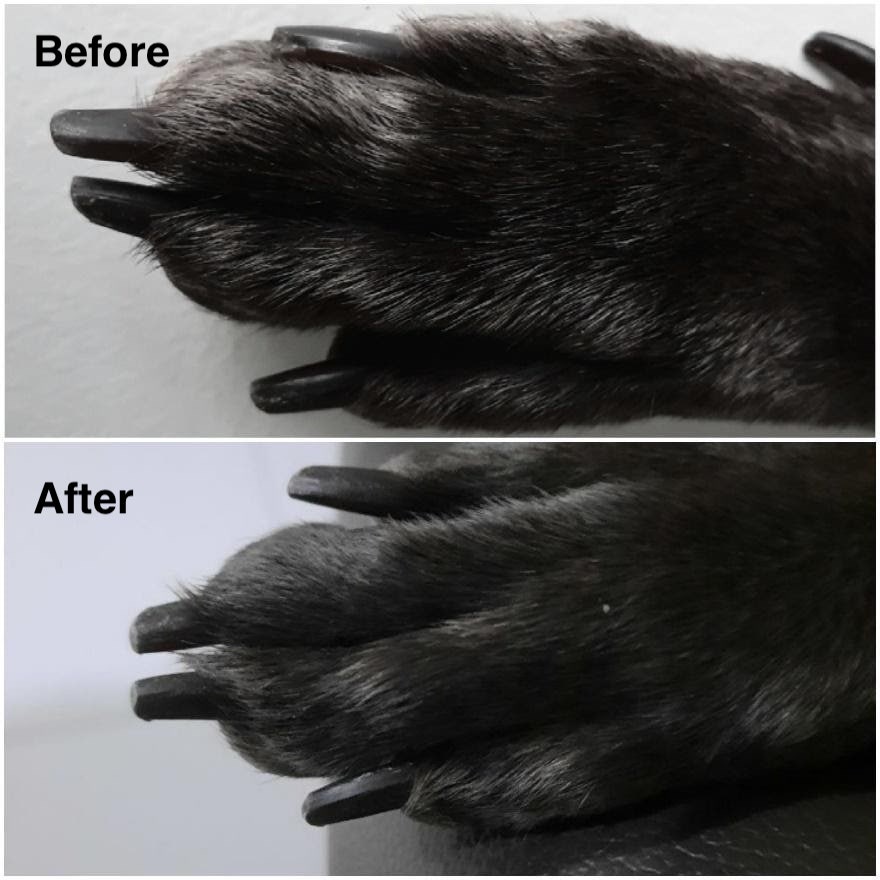
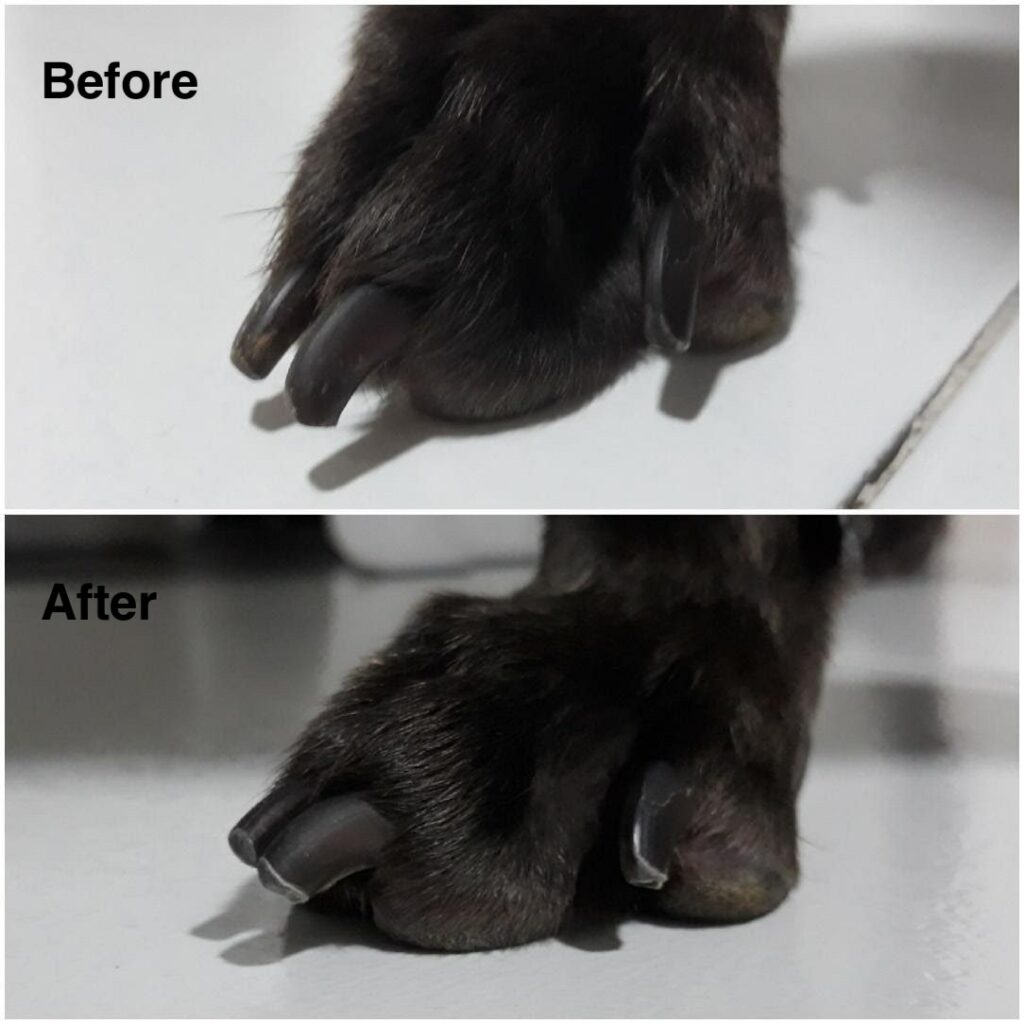
However, as you can also see from the photos, the scratchboard mainly files down the two nails in the middle and the nails are the sides do not get as much contact with the scratchboard. In order to overcome this, you can try tilting the board towards the left or right so the nails at the side will be in contact with the board.
Some points to note
- If your dog is an avid scratcher, be sure to limit the time you allow him to scratch. It is still possible for your dog to ‘quick’ himself if he scratches too much.
- Check your dog’s paws and paw pads during each session to ensure that he is not hurting himself as the paw pads may contact the sandpaper during scratching.
Like humans, dogs also have handedness. Tovsha tends to use her right paw to scratch more, which means her right nails get filed down more than her left. To get her to scratch with her left paw as well, I started to only reward her when she uses her left paw to scratch.
Conclusion
To end off, I would like to add that while this method is an alternative to nail trimming with clippers/grinders, do continue to condition your pets to traditional nail trimming. Scratchboarding can be used together with conditioning to ensure that your dog’s nails remain an appropriate length while waiting for her to get comfortable with clippers/grinders (this is what I have been doing).
Author’s note: I hope that this article has helped in giving you some ideas for nail maintenance if you are struggling with nail trims. If you have any questions, you can dm me @tovsha.thedog or put them down in the comments. Do know that you’re not in this alone!
Sign up as a fellow contributor here and have your articles published.
Photo by Gustavo Fring from Pexels
* This blog is designed to be a community where pet owners can learn and share. The views expressed in each post are the opinion of the author and not necessarily endorsed by Pawjourr. Always consult your veterinarian for professional advice.


