

1. Lighting
Good lighting is key to great photos.
For high contrast photos with stark shadows, opt for using direct sunlight. Cloudy days can also prove useful for softer yet natural lighting.
Otherwise, you might want to invest in a softbox light that is quite affordable online for more consistent lighting.
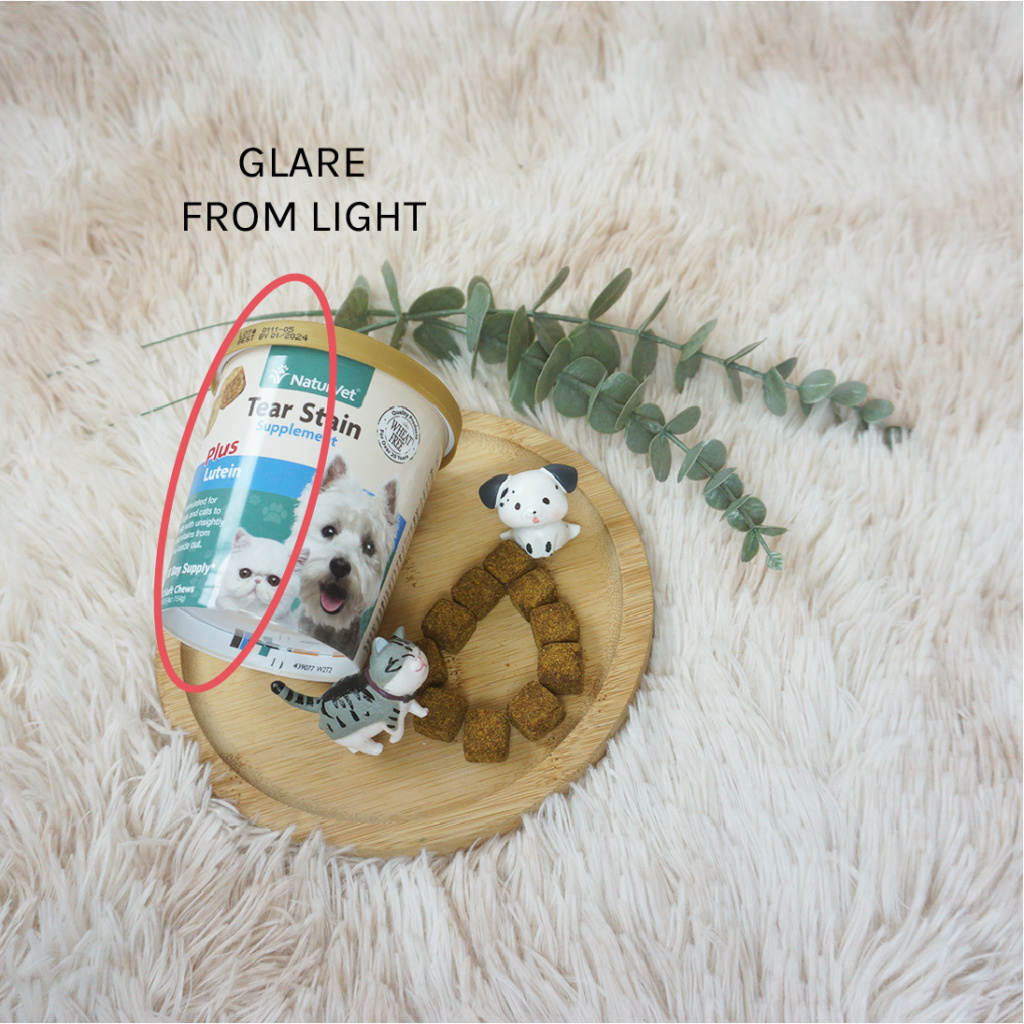
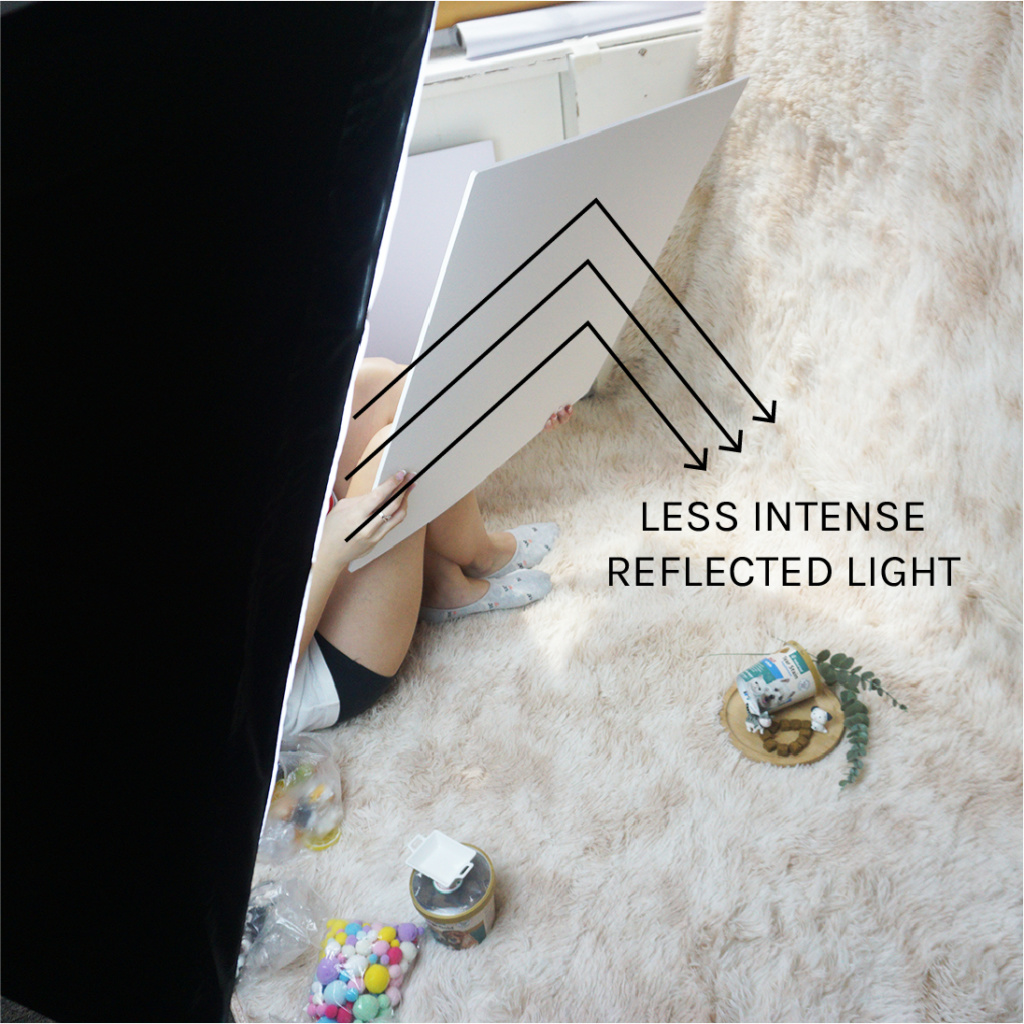
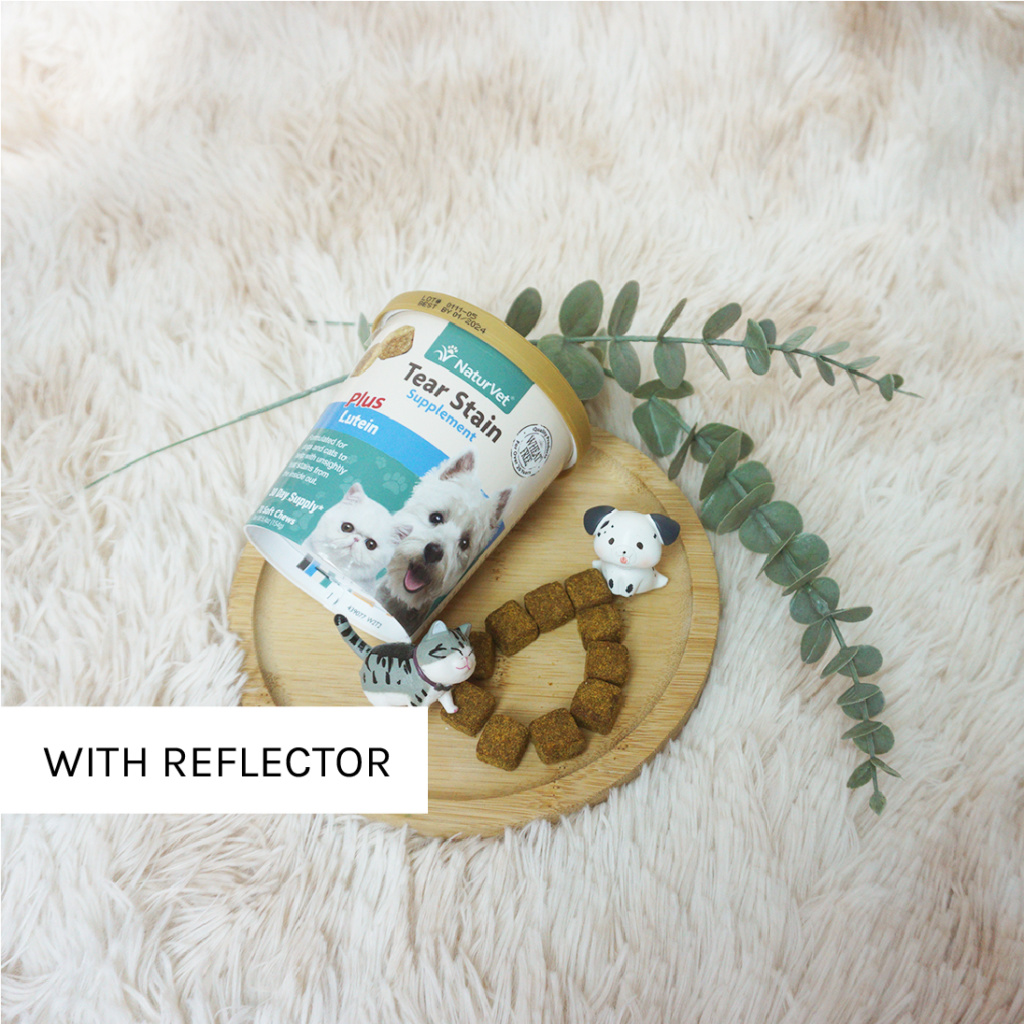
Do take note of reflection/glare from product packaging that will hinder its appearance.
Designer Tip!: Use a white sheet as a reflector to soften the light source or tilt the packaging at another angle where the light doesn’t hit it directly.
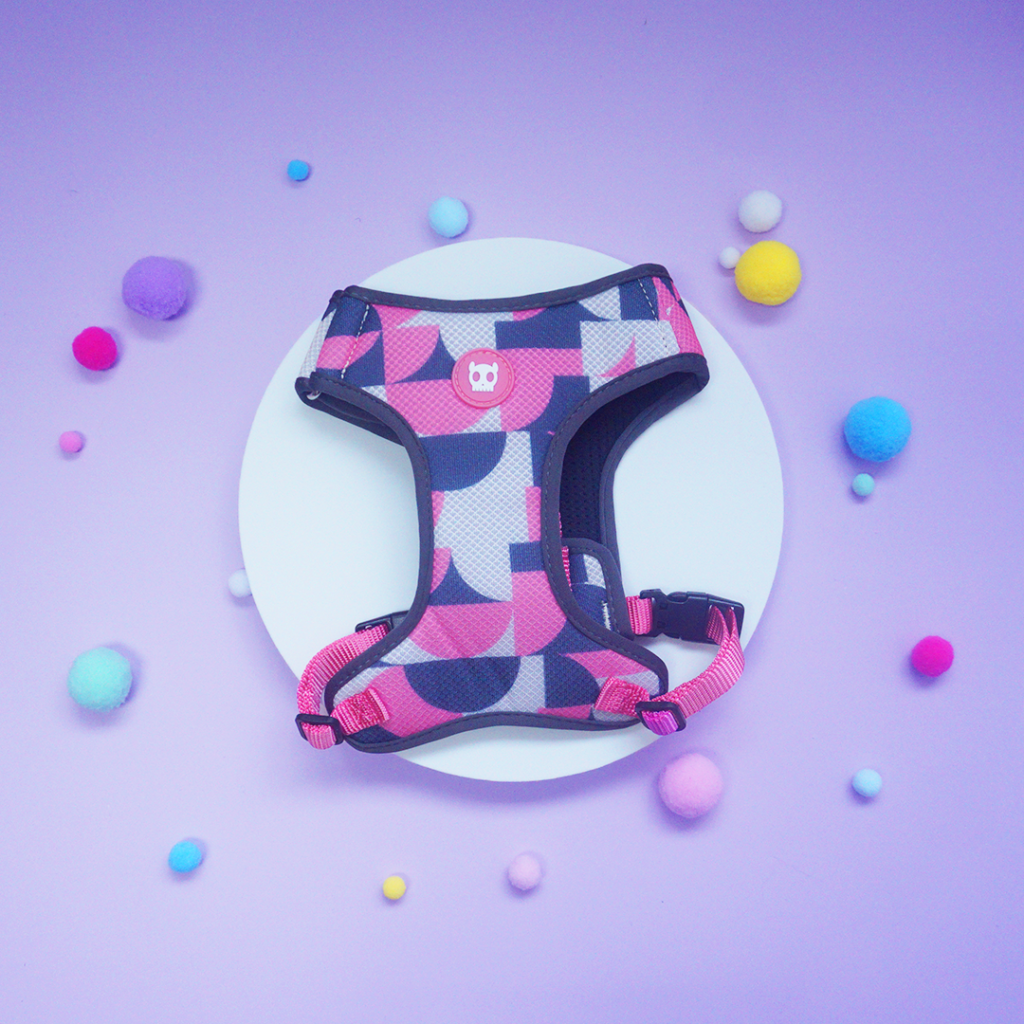
2. Mind your background!
The background of the picture is another essential aspect that will differentiate your picture from an impromptu everyday photo or a more professional one. It is also an easy one to change!
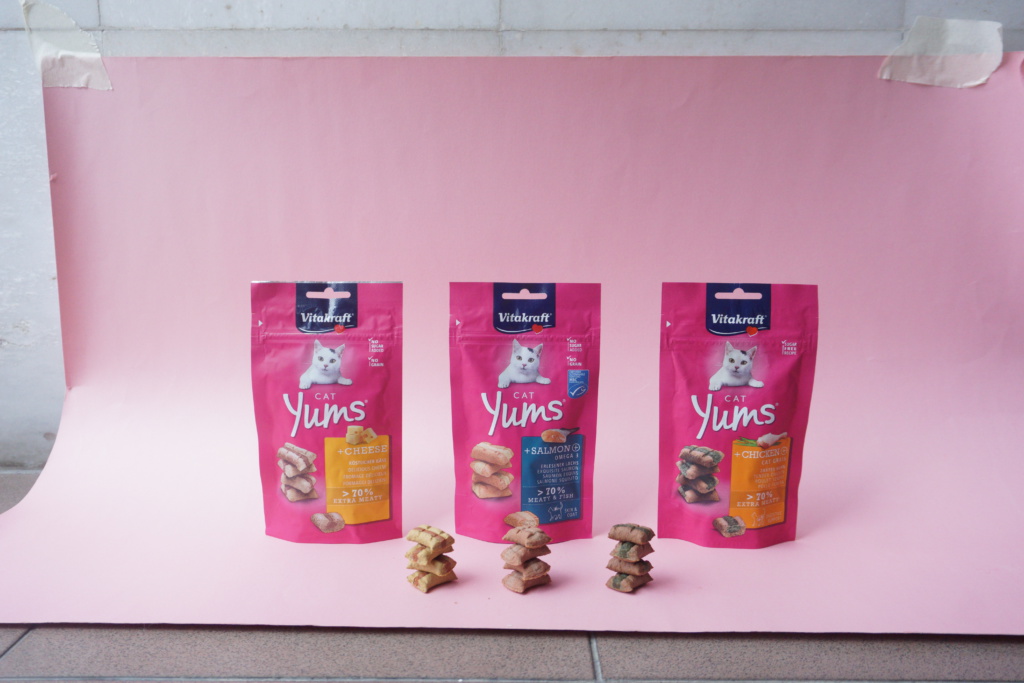
All you need is some large paper taped to the wall for an easy studio-style photo. Plain cloths or rugs are fine as well.
Designer Tip!: Take your photos next to the window for the best results with natural lighting!
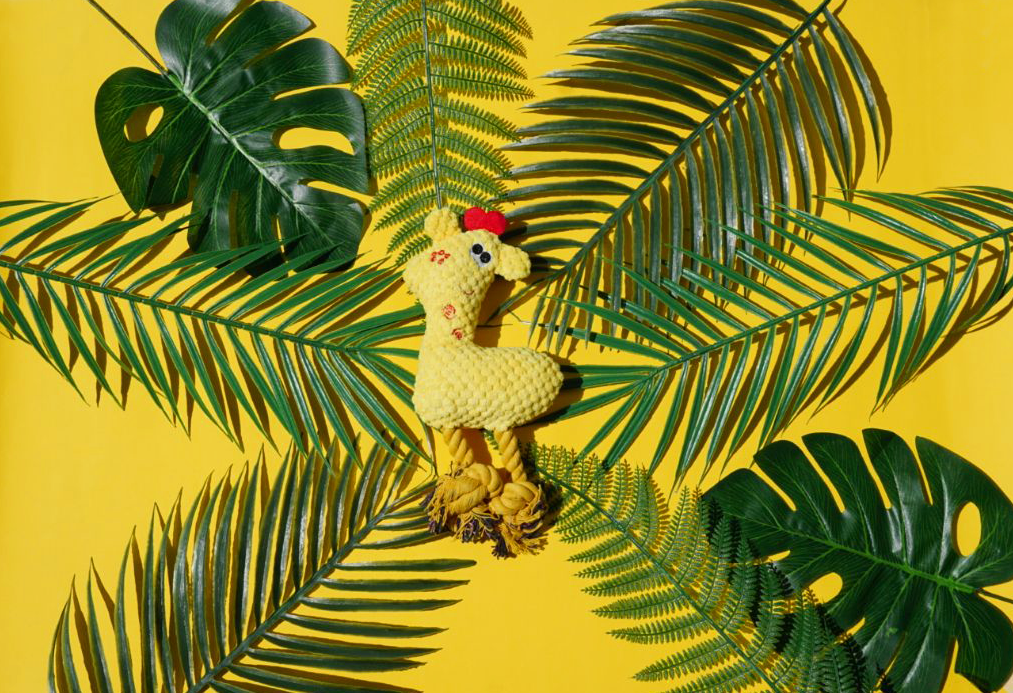
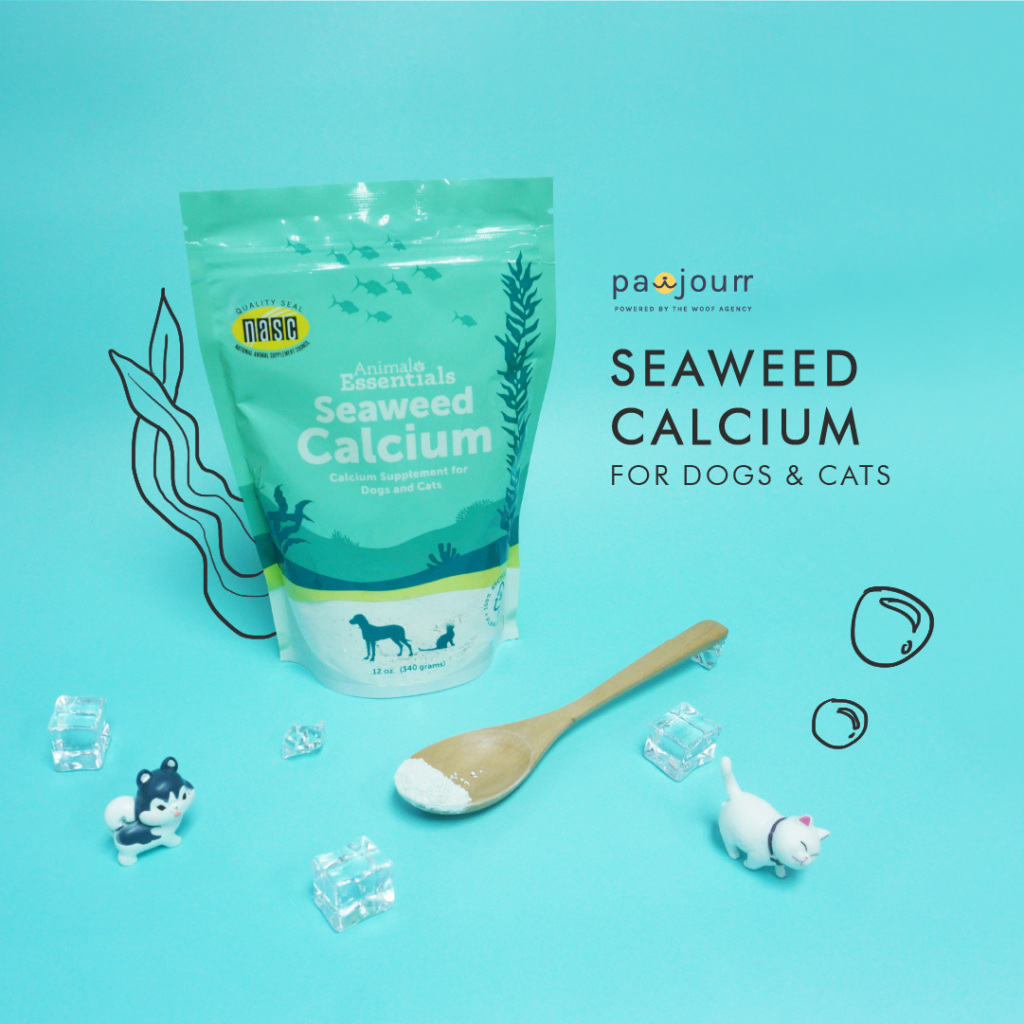
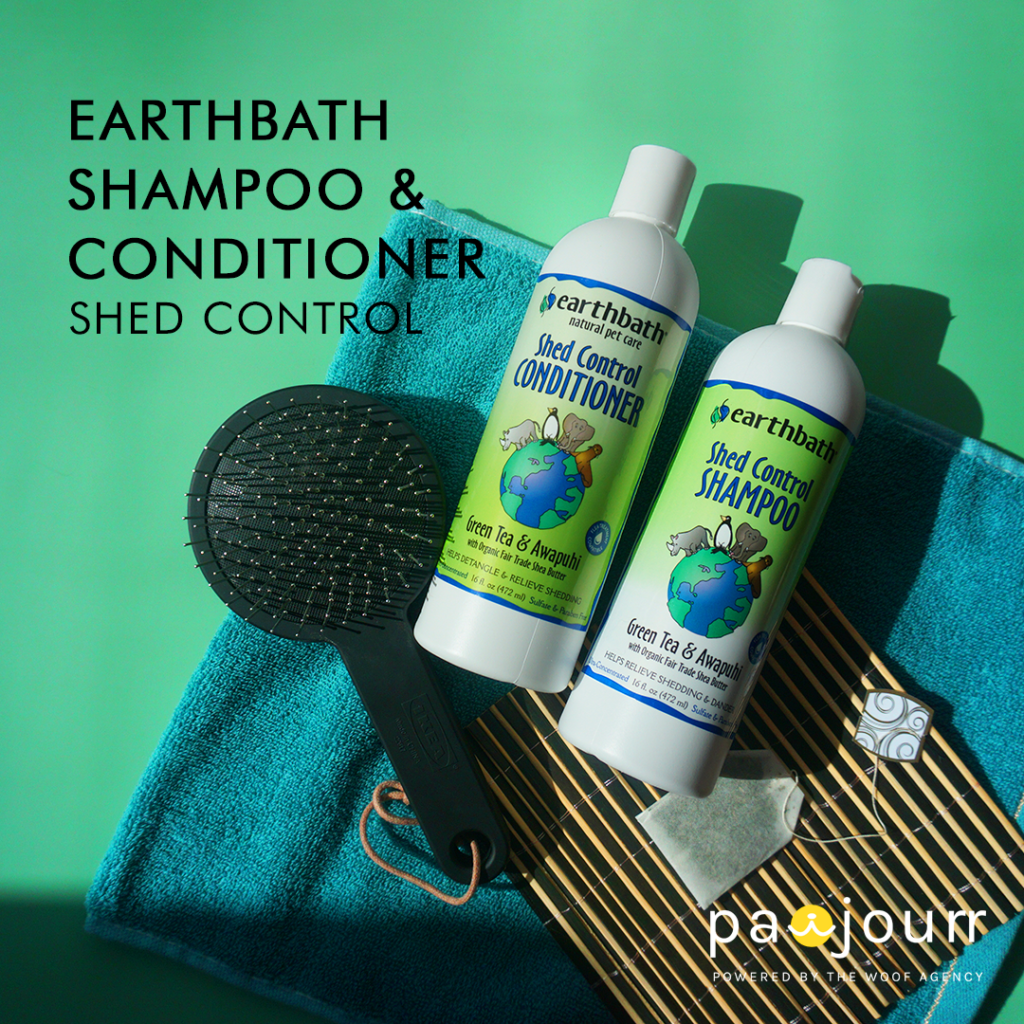
3. Props, props, props!
Props can help push the concept of the product and its function while making it more aesthetically pleasing.
Props don’t have to be specially bought – things found around the house works as well! Just gather whatever you can think of that is related to the product and layer them over each other for extra depth for the image.
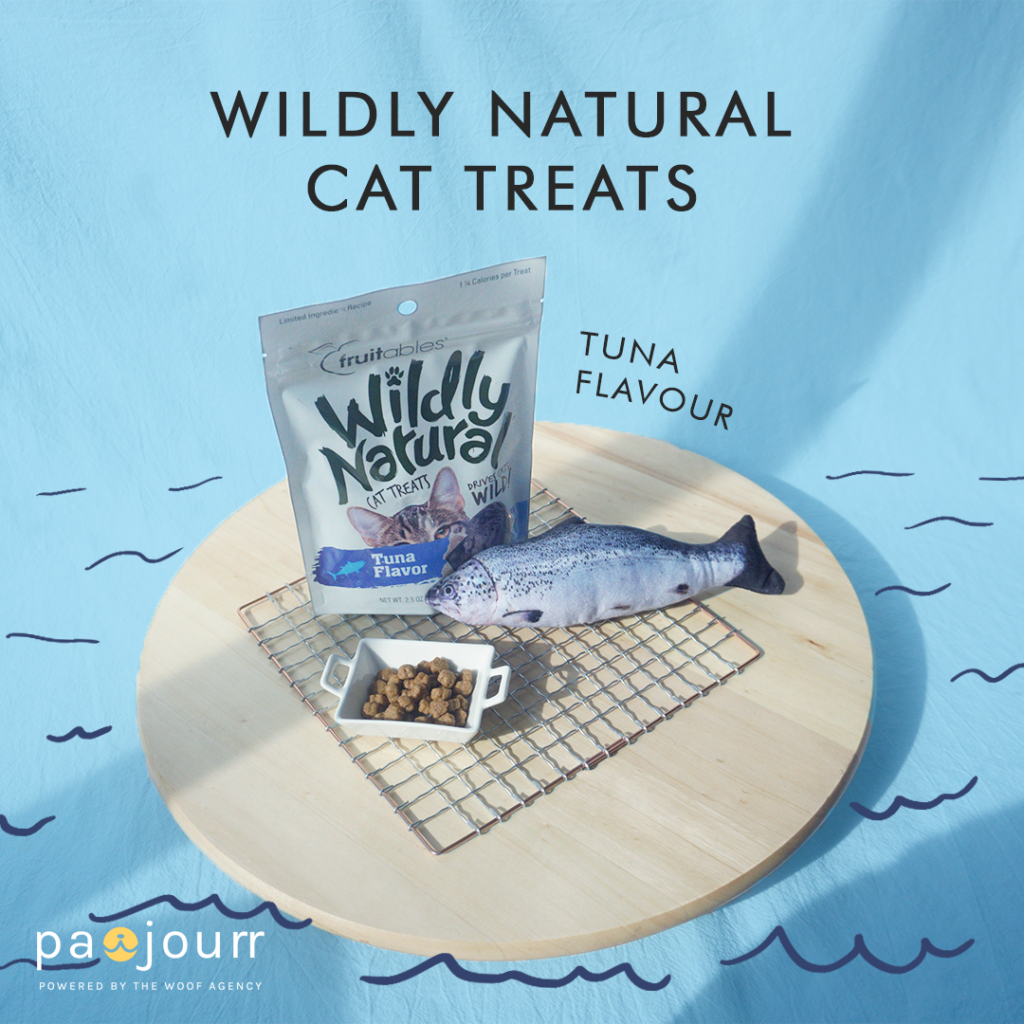
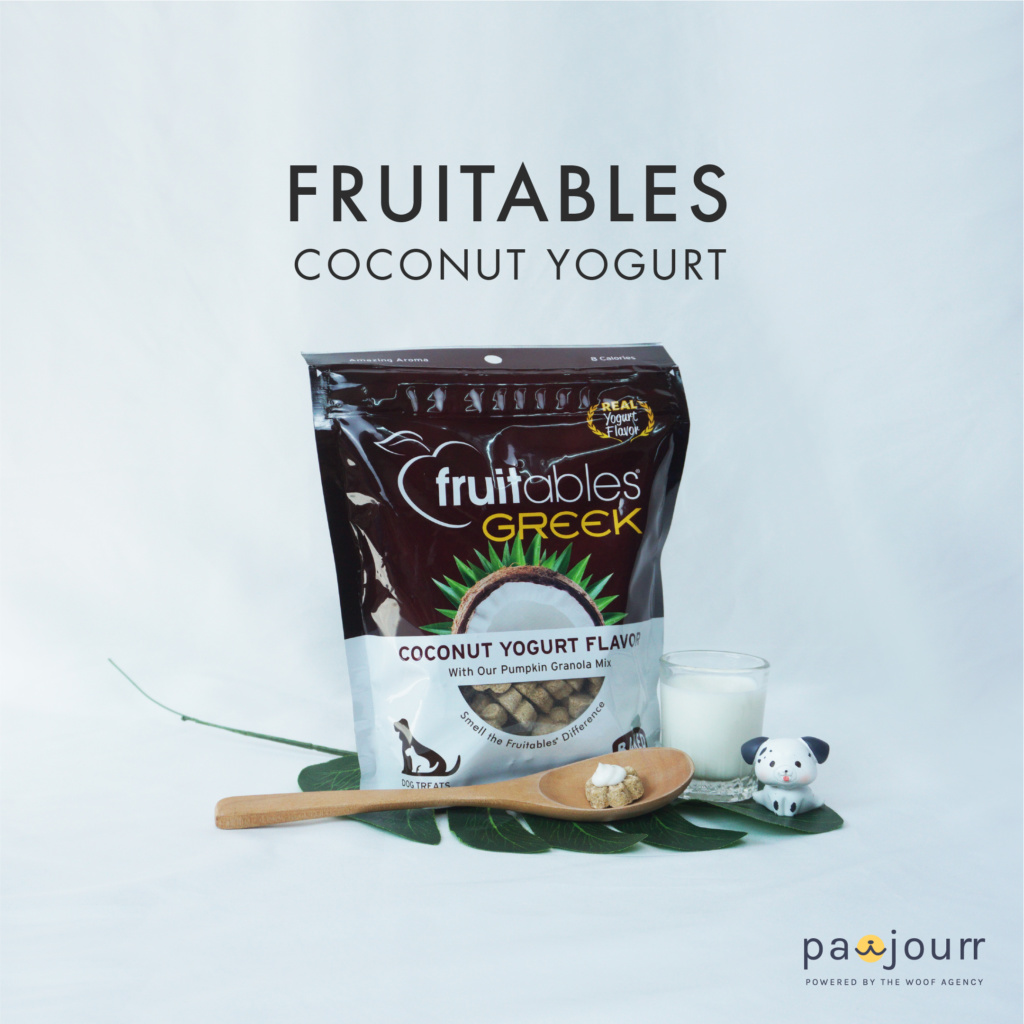
For Pet Food products, opt to display them alongside tea towels, metal grills, chopping boards, pet bowls, fancy saucers and cutlery.
For Pet Hygiene Products, you can place them alongside towel, sponge, soap suds, shower cap and even a rubber duck!
Designer Tip!: Dried or fresh flowers or fake foliage can be used as extra fillers.
4. Dealing with unappetising Pet Food
Pet food is not necessarily the most attractive thing to photograph but worry not.
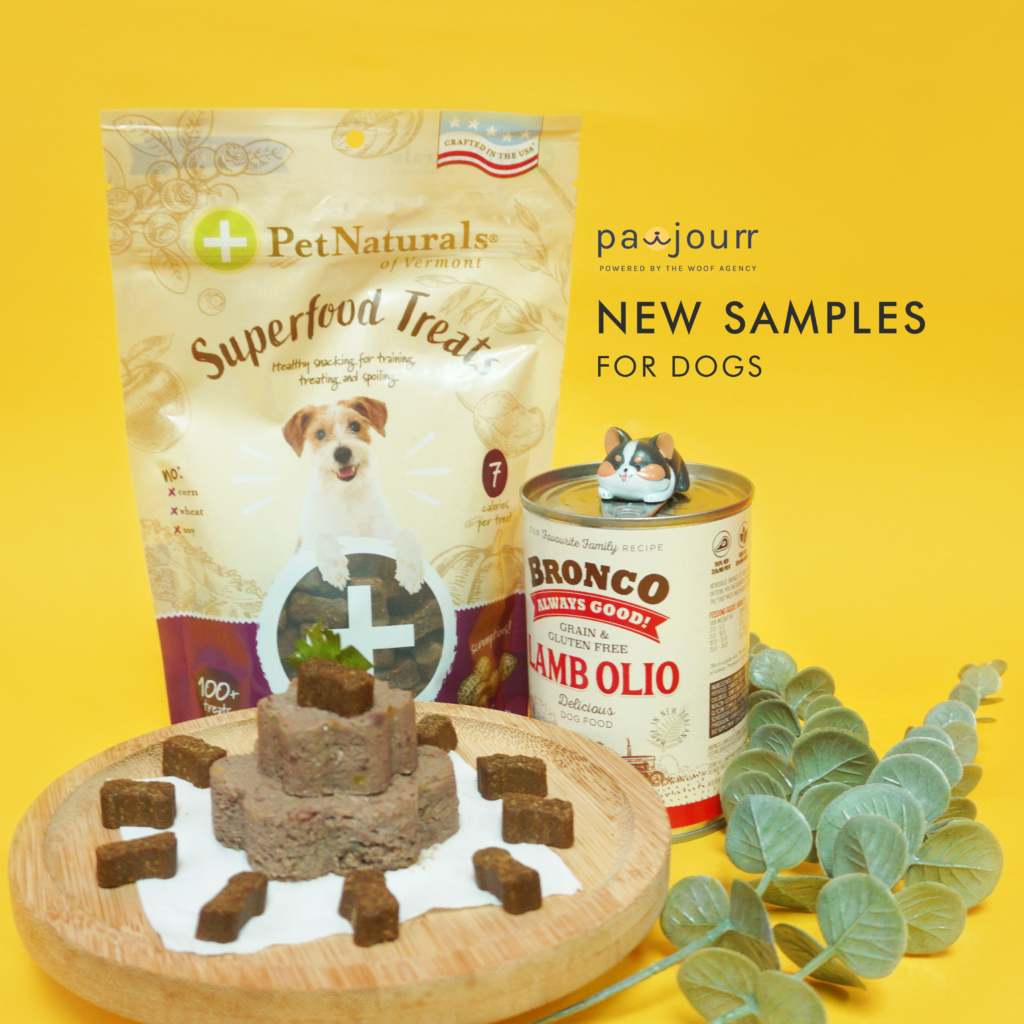
The best way to present pet food is to showcase the actual size and texture of the product. This can be decorated via creative plating where the pet food is arranged into fun shapes by freezing them in moulds. You can even mix a few different products together for the variation in colour and texture.
Another way is to place the pet food on a fancy or colourful plate to compensate for the dull colour of the food itself. Smaller portions can also be placed on a wooden spoon or small saucers for a stronger focus.
Ideally, relevant fresh ingredients or spice bottles can be included in the background to inform viewers more about what the food is made of.
Designer Tip!: Try to stick to warm appetising colours like wood brown, yellow and orange.
5. Most importantly, include a pet!
Close-ups of products and food will definitely give viewers the best view of the products.
Nonetheless, including a pet that enjoys the product will personalise and bring credibility to it.
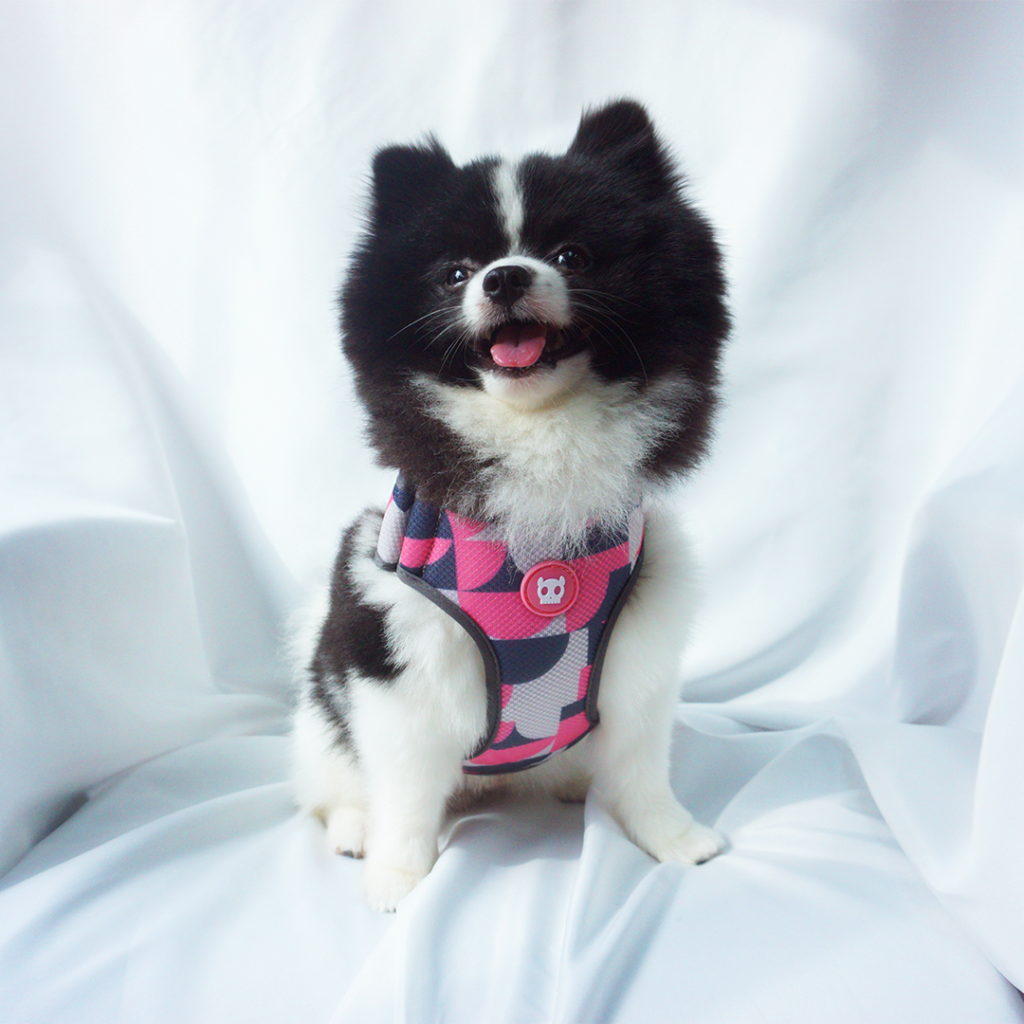
Pets are more engaging than a motionless product, especially for pet accessories that require a real-life model for maximum visualisation of the product.
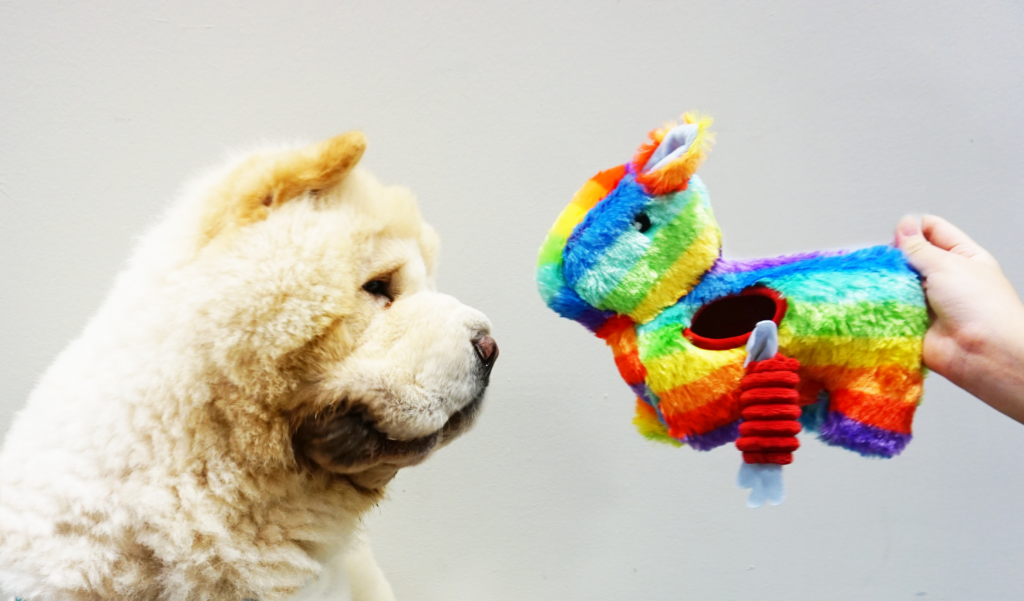
Designer Tip!: You don’t have to include the whole pet – even elements of pets like a paw peeping from the side can make the photo more interesting.
Stay tuned for our next article with more tips on how to take better pictures of your pet with products!
* This blog is designed to be a community where pet owners can learn and share. The views expressed in each post are the opinion of the author and not necessarily endorsed by Pawjourr. Always consult your veterinarian for professional advice.


